hello everyone!!
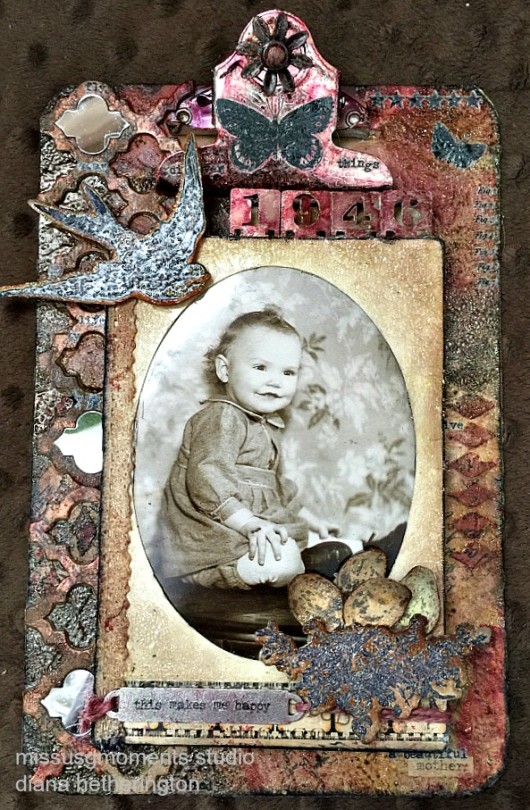
this week we were given an open theme at Emerald Creek which are definitely my favourite kind of challenges. it allows me to create just to create and I wanted to say a piece from my heart but then all my pieces are from my heart… I wonder if maybe that is why it takes me so long to come up with, create and finish some pieces….
todays project I will be showing you lots of pictures so you can see how I created this piece featuring a picture of my mom as a wee little girl. this picture hung outside my Nanny’s bedroom for many years and the only way to get a copy was to take a picture of it.. I now possess the original and this is a piece I shall treasure with all my heart for always.
so let’s see those pictures you say…okay here we go!!
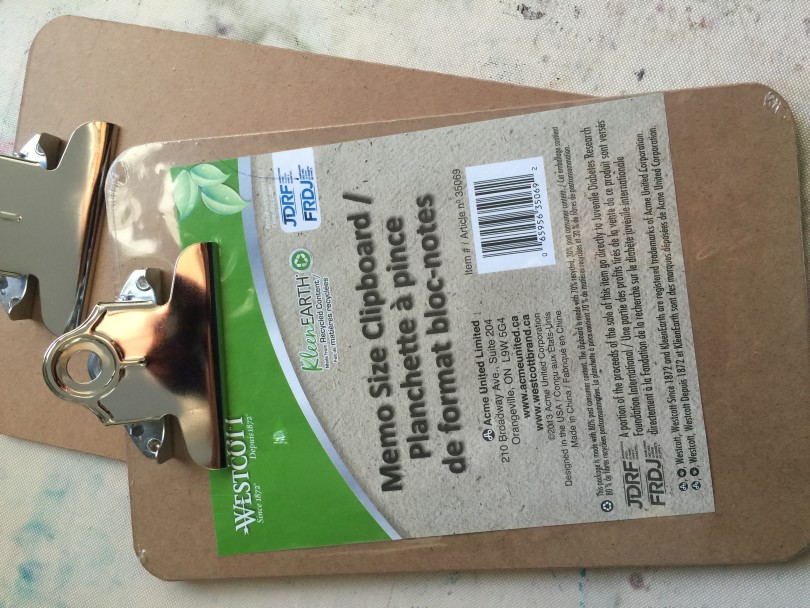
so i started off with these mini clipboards that i found at my local stationary store
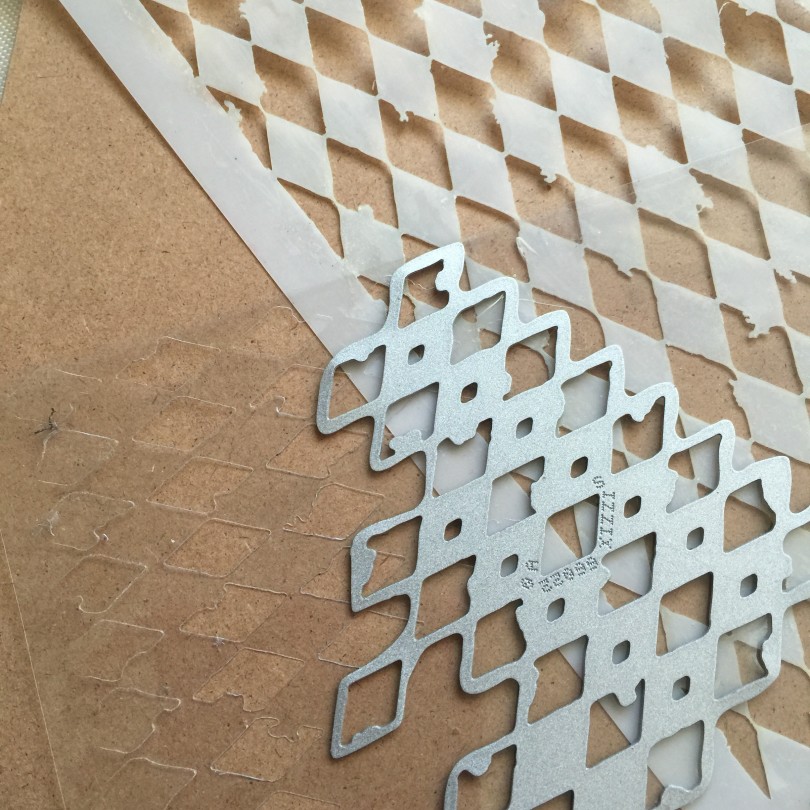
i started out doing what i thought was a clever idea, creating my own stencil using one of the pieces from tim’s mixed media only to discover after the fact that there was already a harlequin stencil (but of course!!)
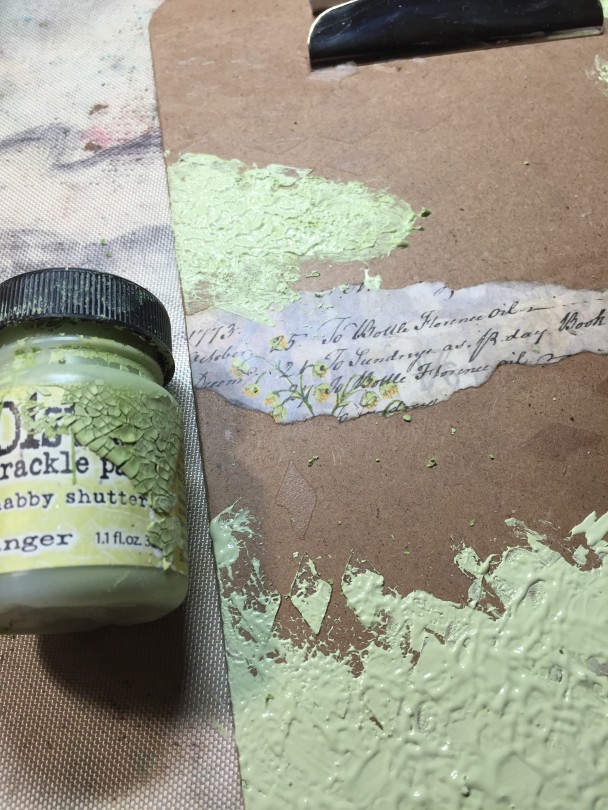
 i had applied some clear texture paste through this on to my clipboard and then i applied some paper along with some distress crackle paint.
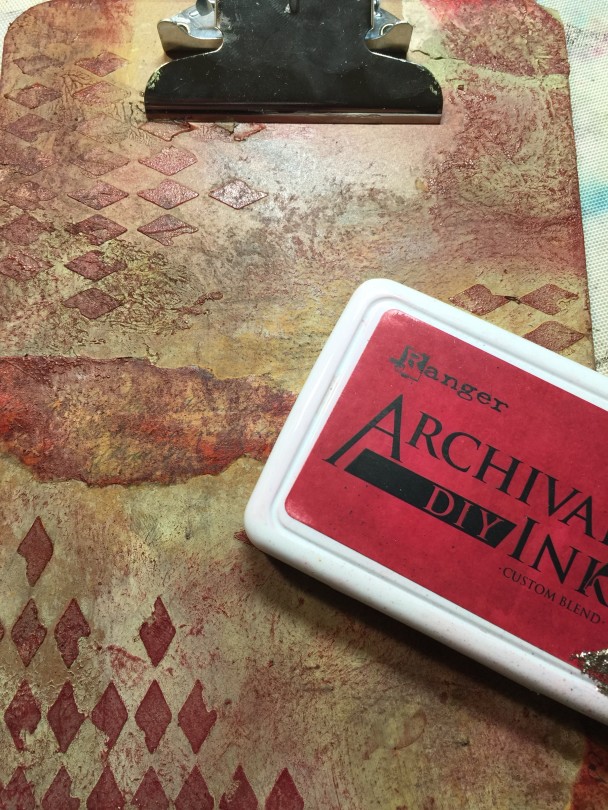
 next i rubbed direct to the clip board my DIY archival ink pad in reds
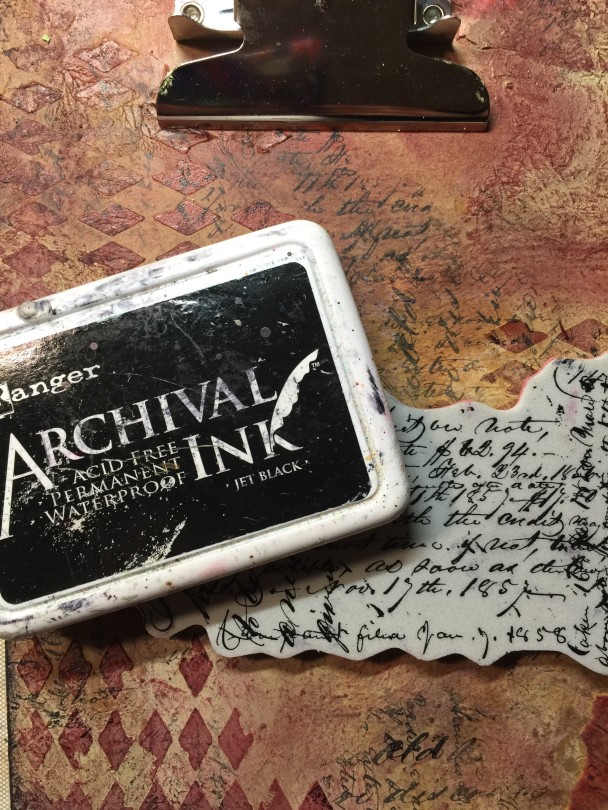
and then i stamped the ledger script in black archival ink
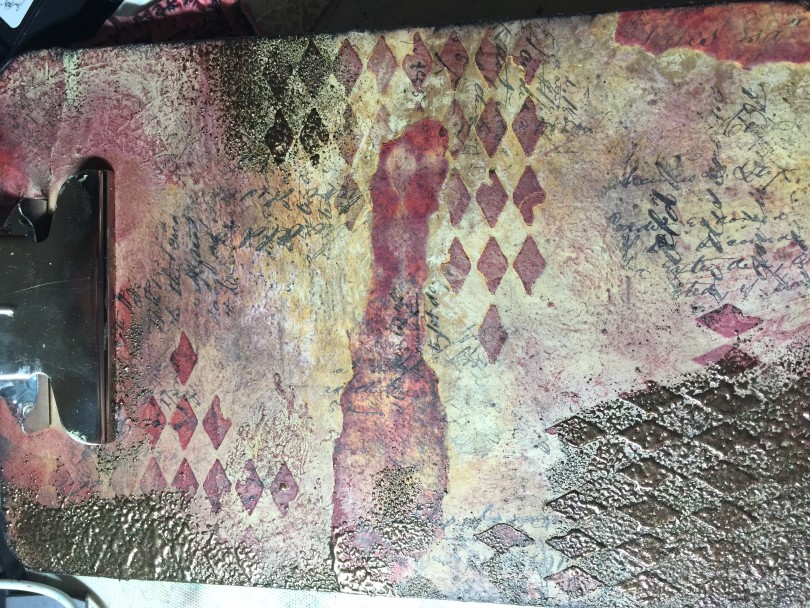
 i was pretty pleased with the background so it was time to move on but not before i added some of the burnt copper leaves embossing powder from emerald creek in various spots!!
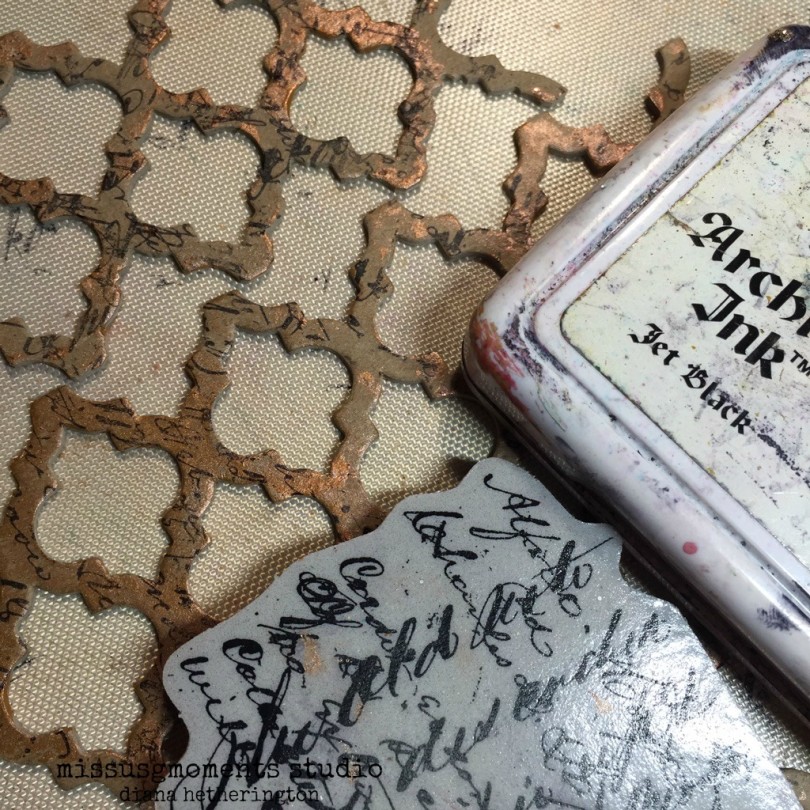
 I then added some gold paint and the ledger stamp to my trellis frameworks die cut piece and glued it down the side of my clipboard
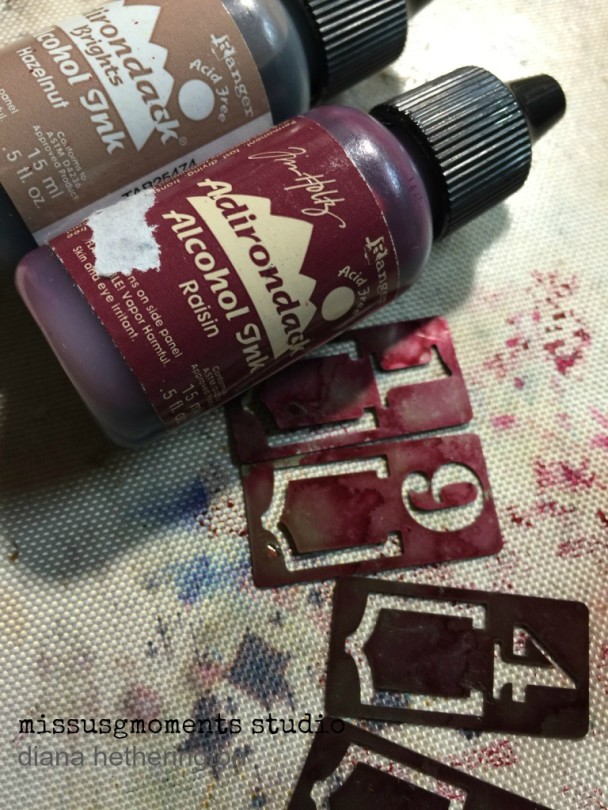
next I stamped the Tim Holtz Love You framelit set onto my Sizzix Paper Leather sheets and heat set it using Emerald Creeks clear embossing powder. (you need to be quick when using Archival ink for embossing as it dries much faster than distress ink but I love the deep black the archival ink gives the piece)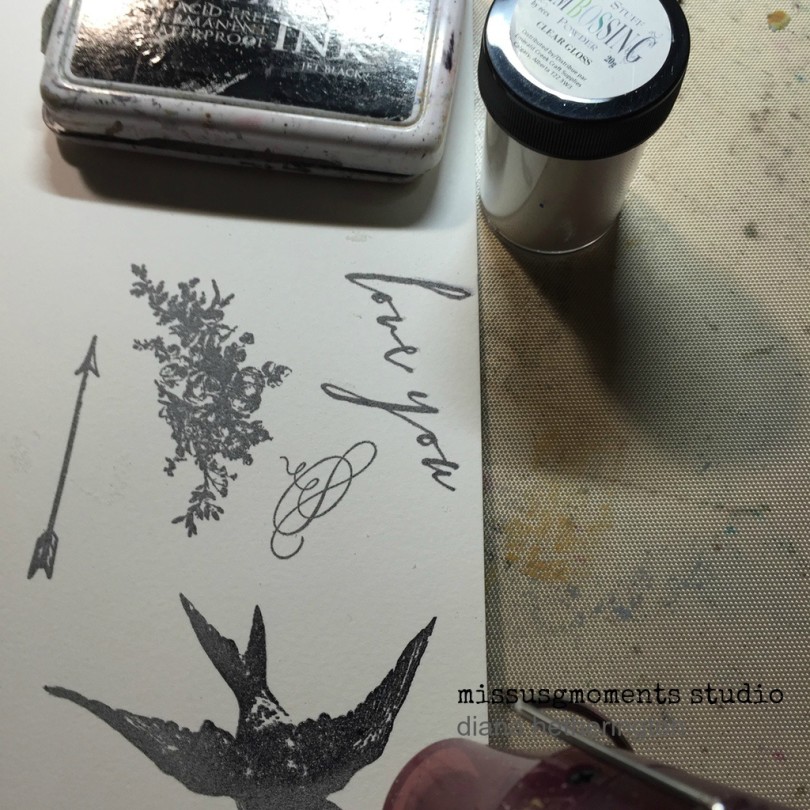 I also dug out my alcohol inks in Raisin and Hazelnut and inked the Ideaology Stencil marks, the clip on my board and then ran my felt over various spots on my piece to bring it all together
then it was time to assemble my piece.
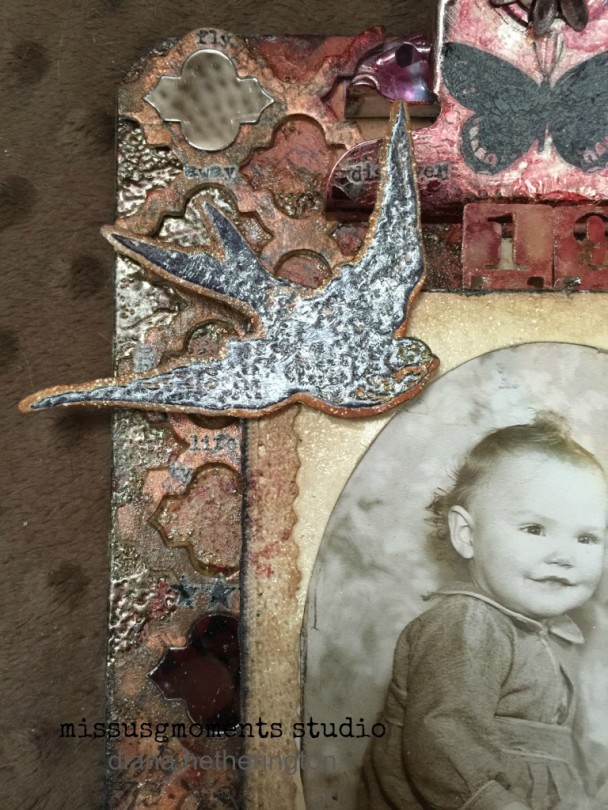 I also added rub ons to various places along the background and a chitchat sticker to the bottom corner
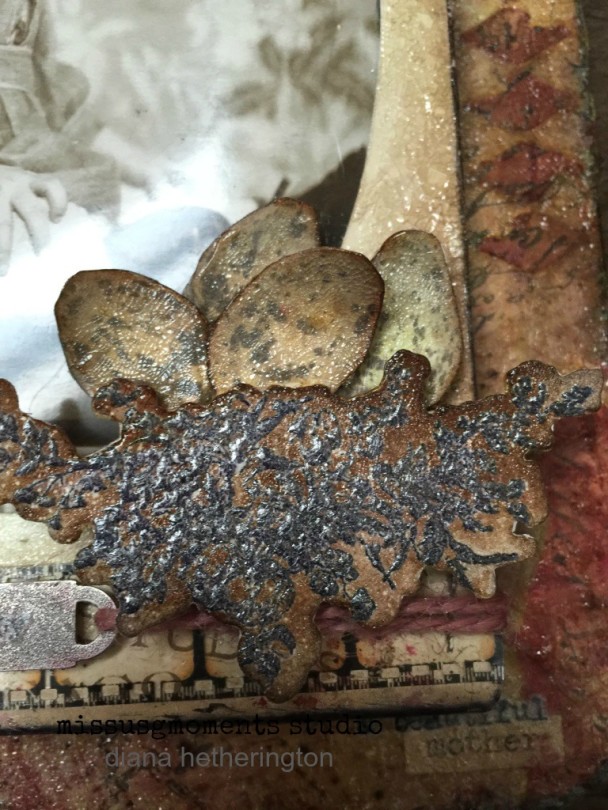 as you can probably tell I added distress crackle paste in clear rock candy to almost the entire piece. I wanted to show you something special that I came across while creating this piece.. a message of love from above
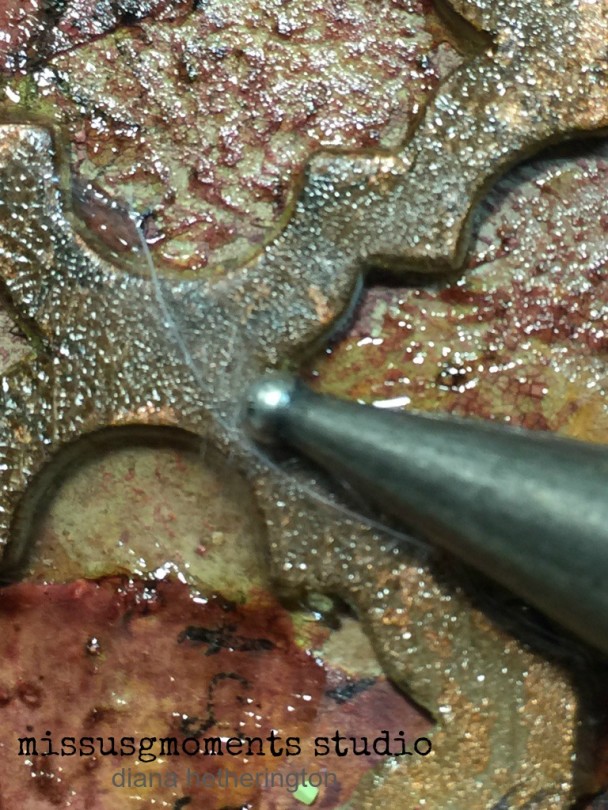 she sent me the feather I am sure to let me know she was right there with me while I was creating this piece of heART
and here you have it once again.. my finished piece of my wee mom.
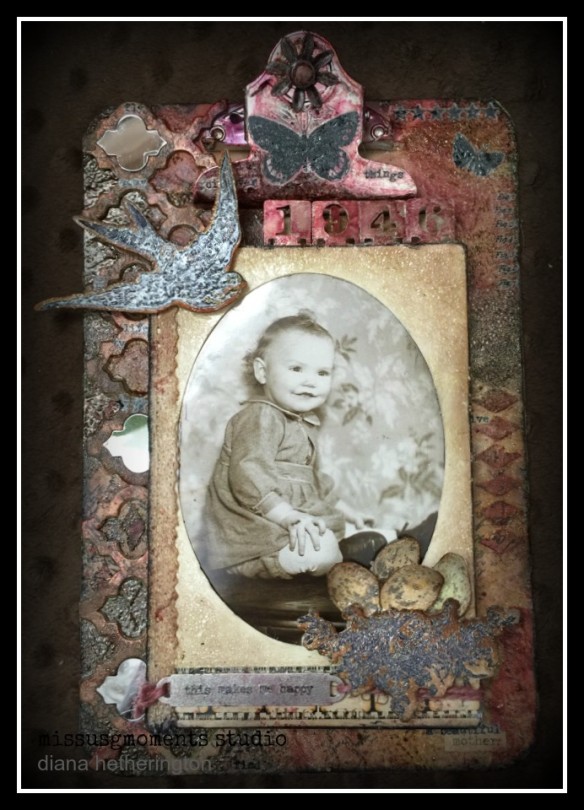
i have entered my project into the
Vintage Journey’s Industrial Challenge
The Artistic Stamper February Creative Challenge-HeArt Art
diana

Comments
12 responses to “my wee mom”
Absolutely gorgeous piece Diana! Love the layers and texture you created here and colors are so wonderful!!
Beautiful! Love love the mini clipboard and your fabulous altering! TFS xx
You have turned this clip board into a true treasure! Love it!
Claudia x
A complete favorite!!! Your Mom is scrumptious and precious!!! LOVE all that fabulous texture! UBER Gorgeous!!!!
Absolutely beautiful piece Diana! The layers and textures are amazing!
Beautiful project Diana! Love all the layers and textures you added to your project!
-Katelyn
Gorgeous! The background you created on the clipboard is absolutely fabulous! You have really done an amazing job showcasing that photo of your mom.
{julia}
Love this piece!! The clipboard is a great idea! I to have a feather, mine is tucked in my top drawer of my craft table <3
So rich and yummy!
Truly amazing! Your layers upon layers make this so complex and detailed. Love the sweet image of your mom – precious!
Fab, project, thanks for sharing with us over at The Artistic Stamper – Debs DT
Stunning!!! Absolutely love this piece!! Beautifully put together! Thanks so much for adding it to our industrial challenge at A Vintage Journey!