okay, so after reading through my last post i realized that i spent more time explaining my back ground instead of my flowers so tonight i headed into the craft room and here is what i did:
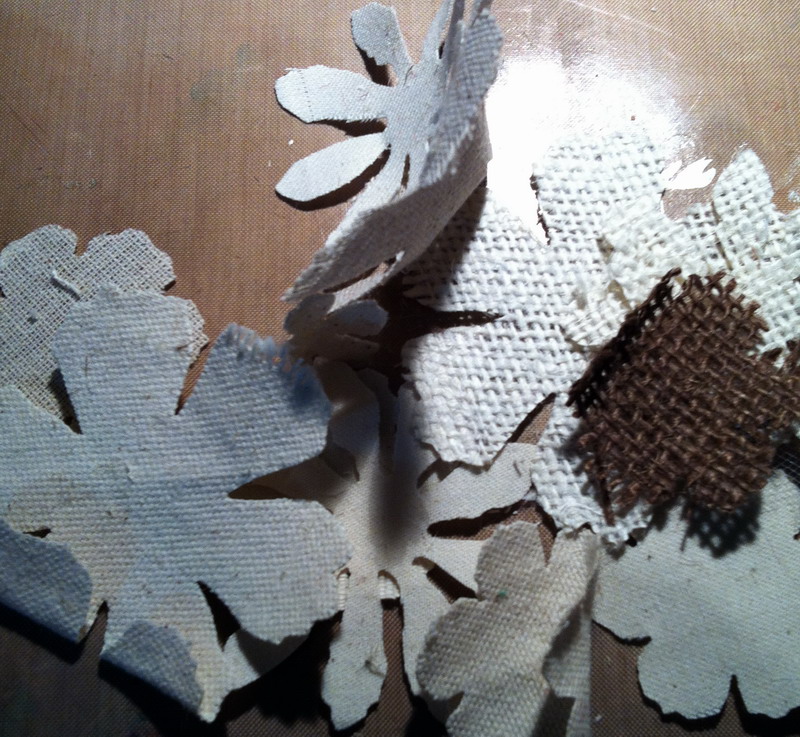
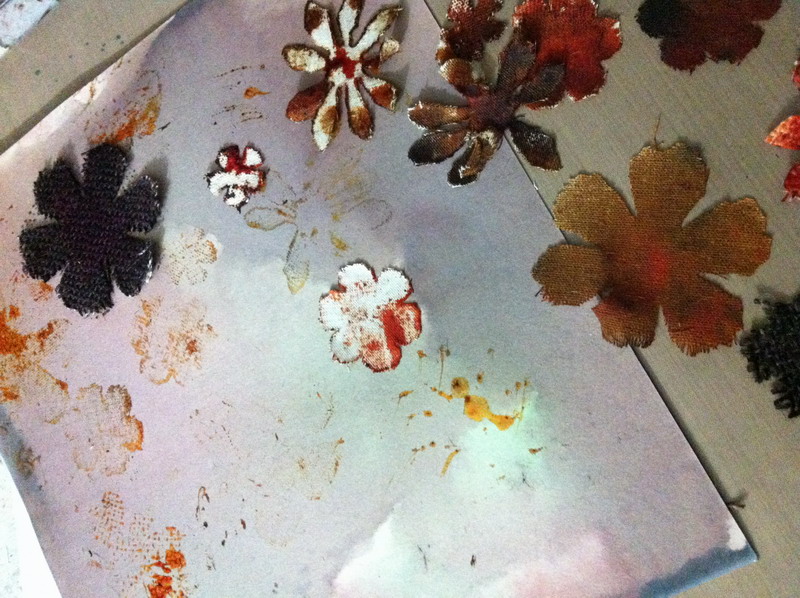
i started by cutting out some more flowers:
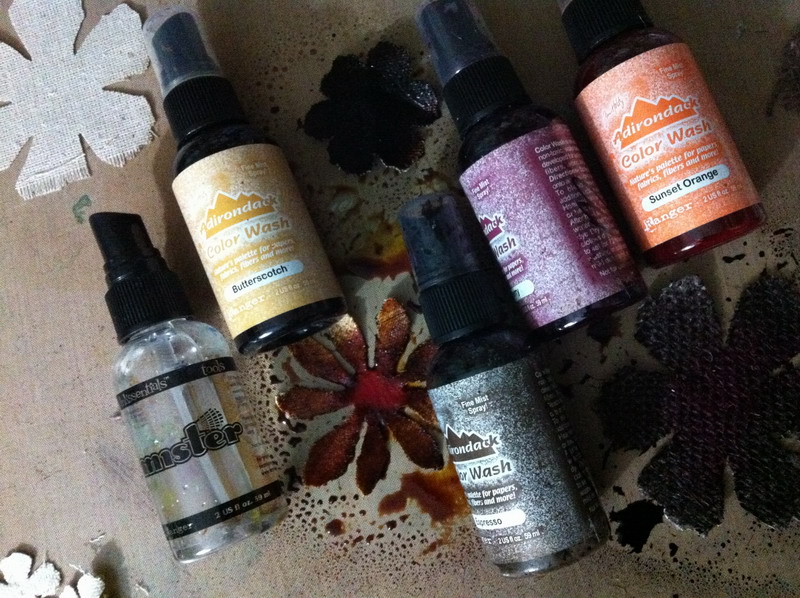
and then because my intention is to use this flower anywhere on anything i chose to use color wash
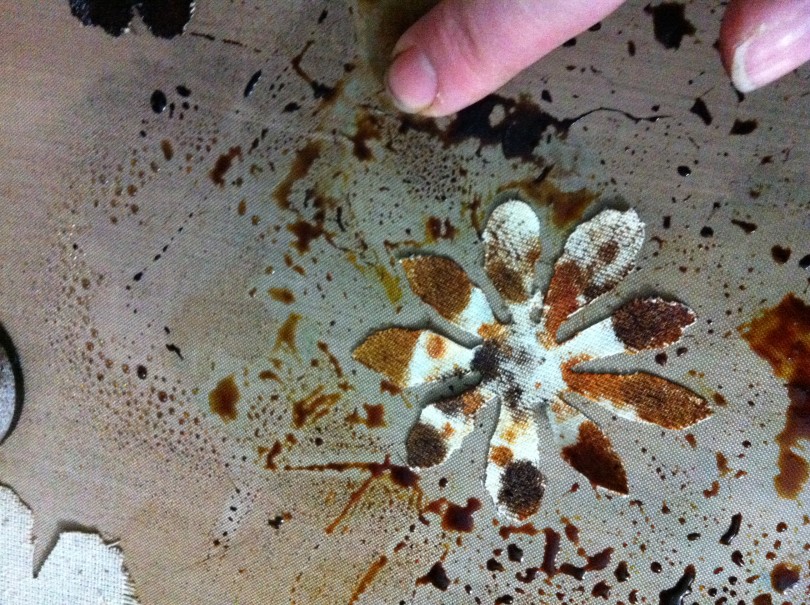
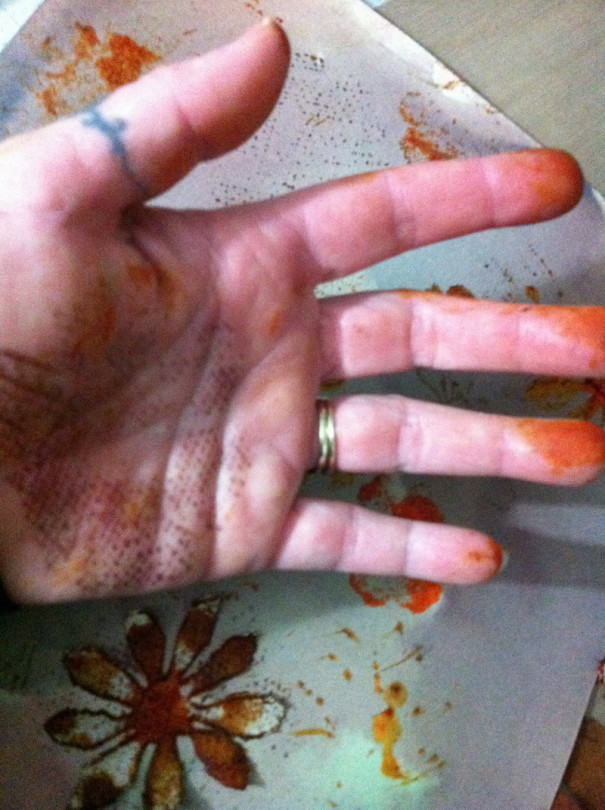
i used some left overspray and my finger and coloured some of the flowers
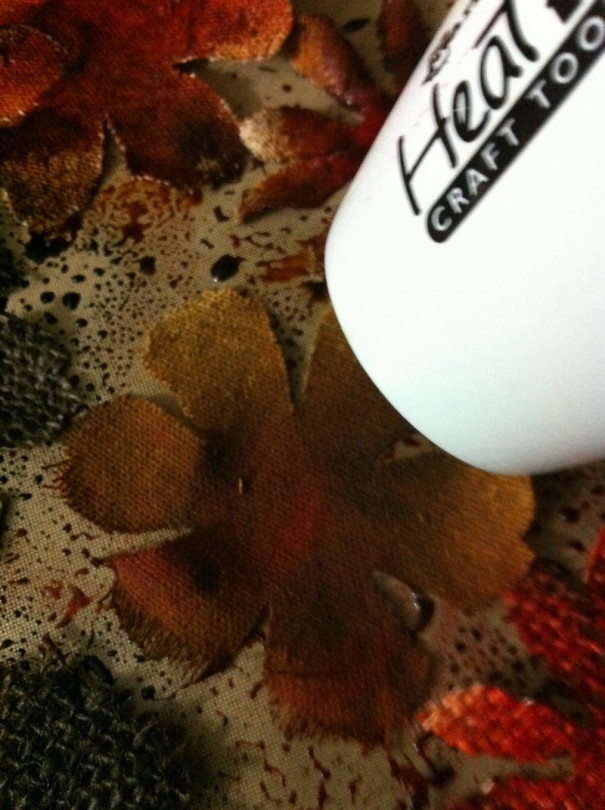
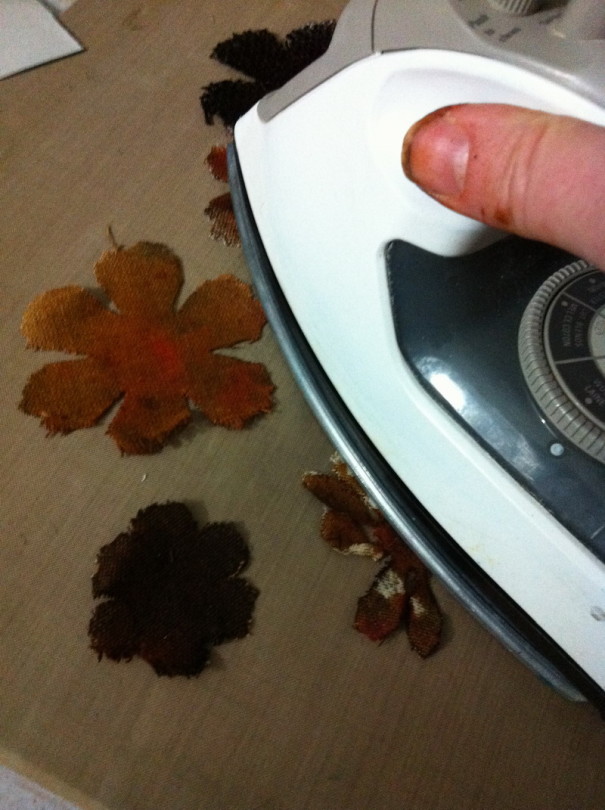
then it was time to heat set because we all know it is wet, heat, rinse, heat done!
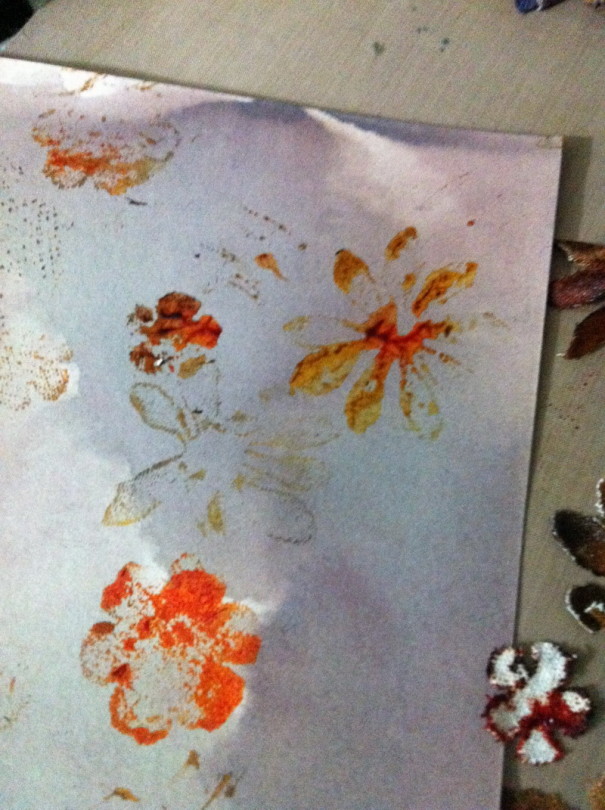
but wait.. before i heat perhaps i can dry up some of those flowers on the back ground sheet i had created the other night from the canvas i made…
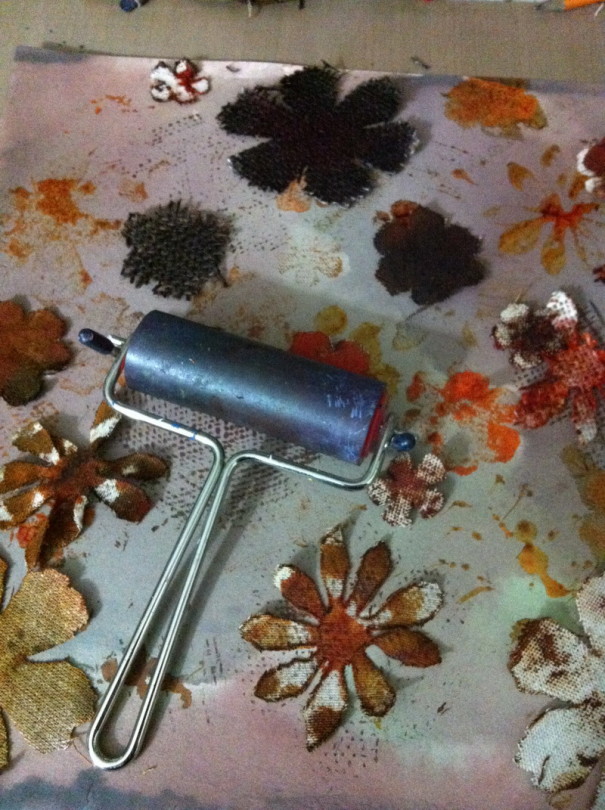
was totally using my hand to press my flowers until.. i remembered my brayer!!
now it is time to heat set!
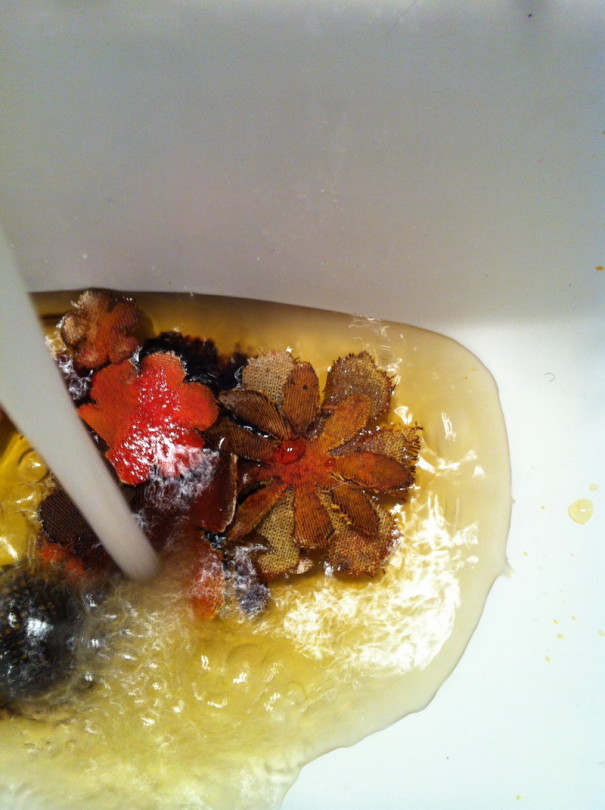
once dry it was off to the bathroom sink (shhh.. don’t tell!!)
and let the rinsing begin…
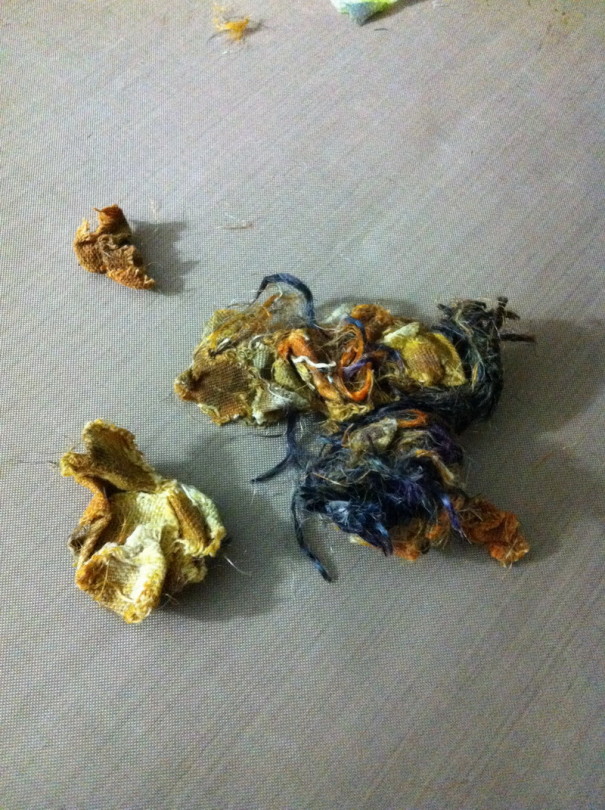
i was quite surprised with what i was left with…
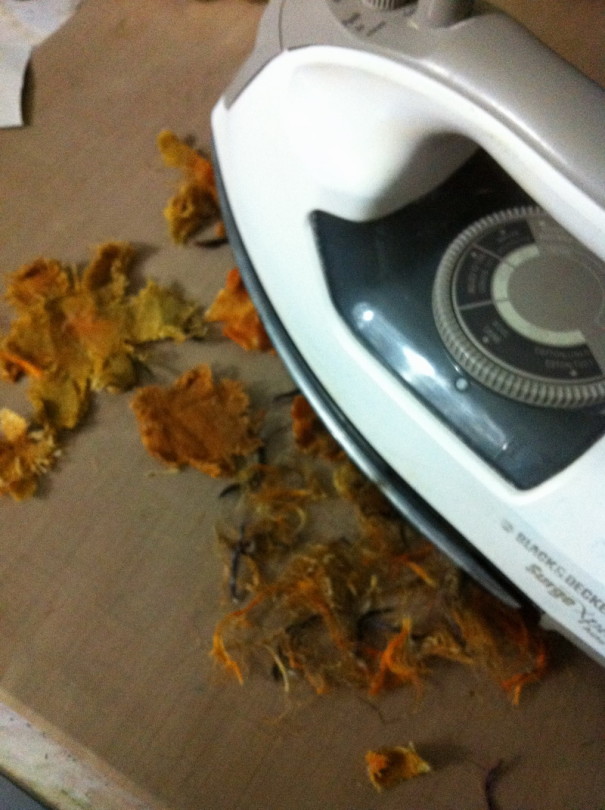
but kept going so out came the iron…
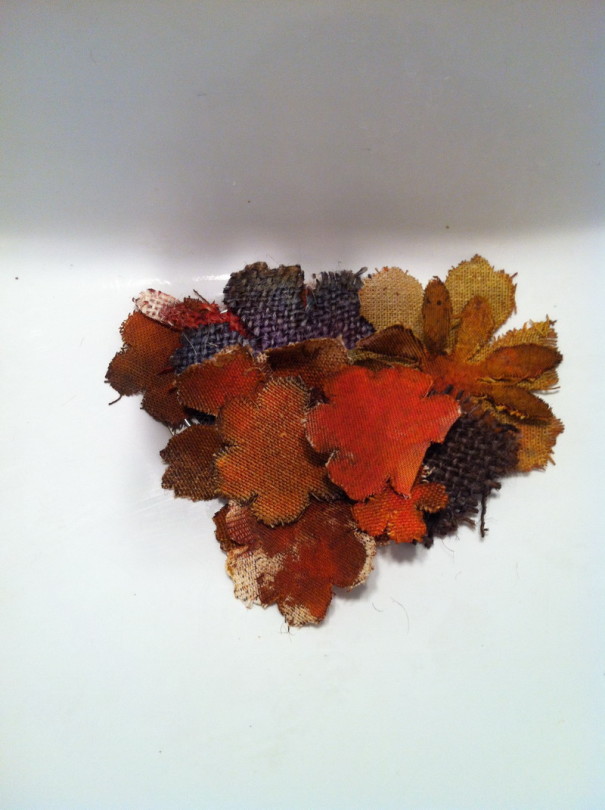
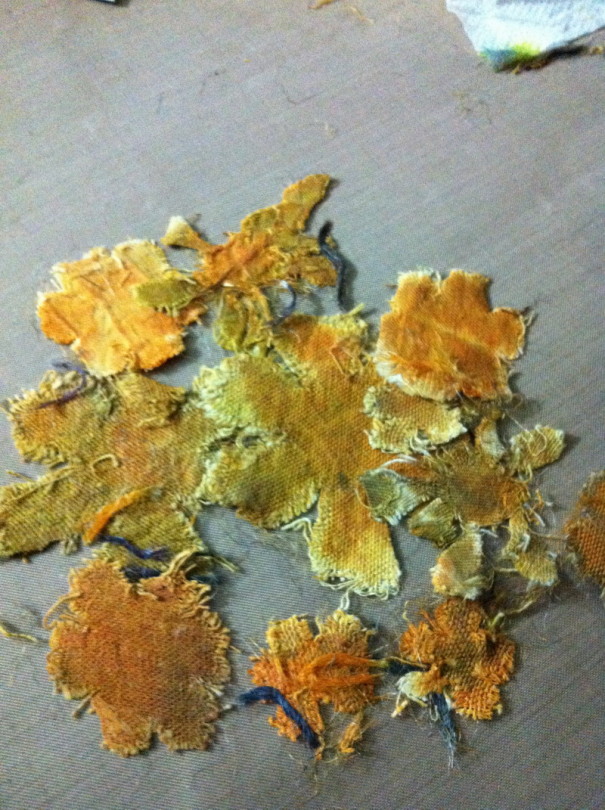
and then they were now dried…
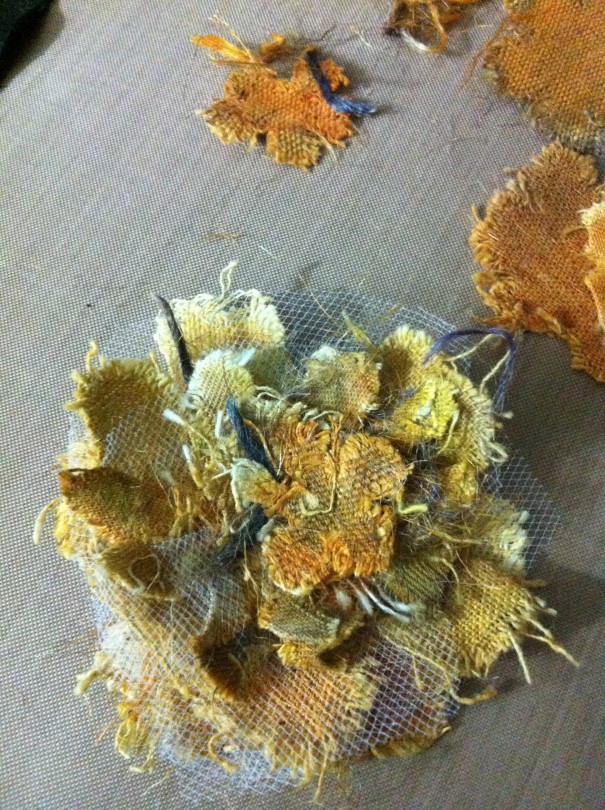
time to start the layering.
i wasn’t quite happy with the size. i wanted it bigger so i introduced the left overs to make a bigger flower
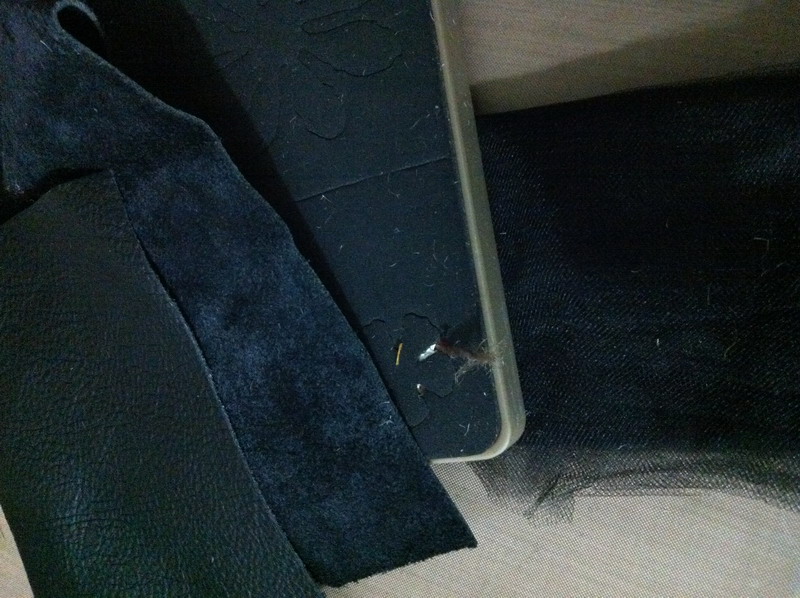
but not quite what i wanted. then i remembered some leather pieces given to me by cheryl and some left over black tullle…
now this is what i needed!!!!
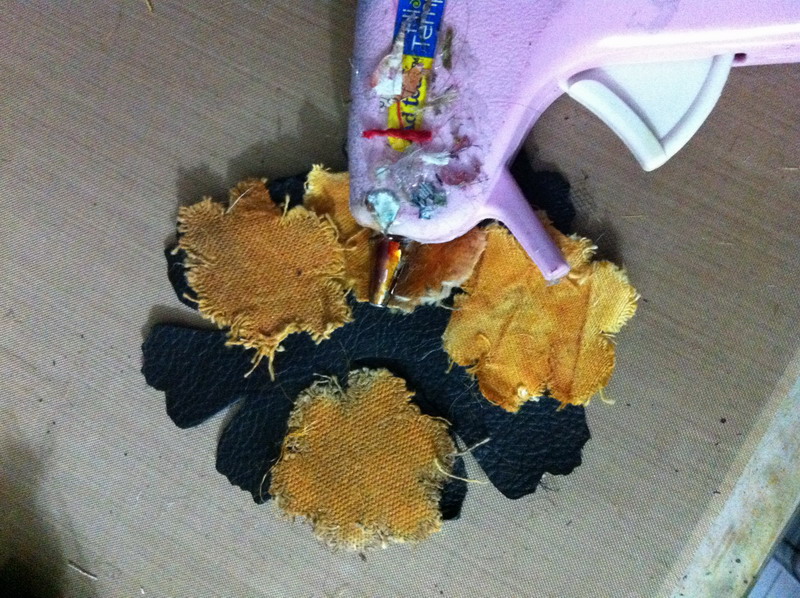
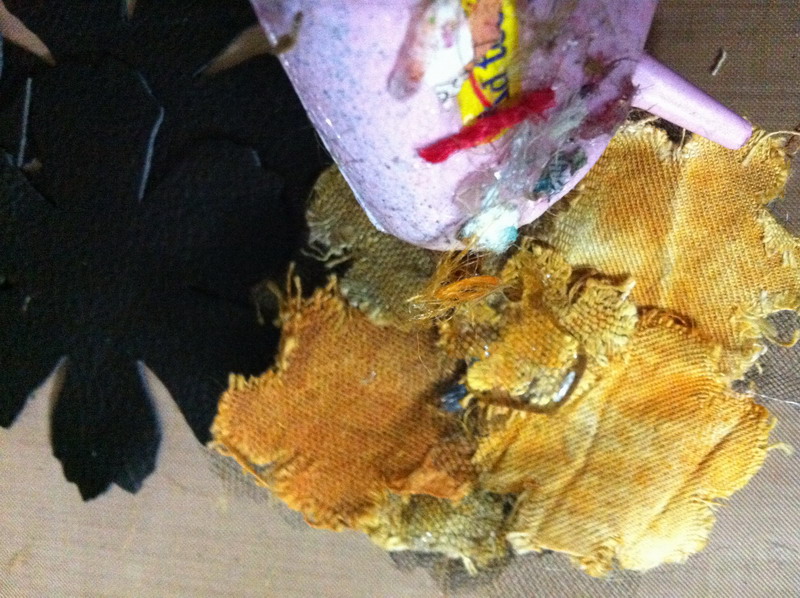
so then it was time to glue
love where this was going!!
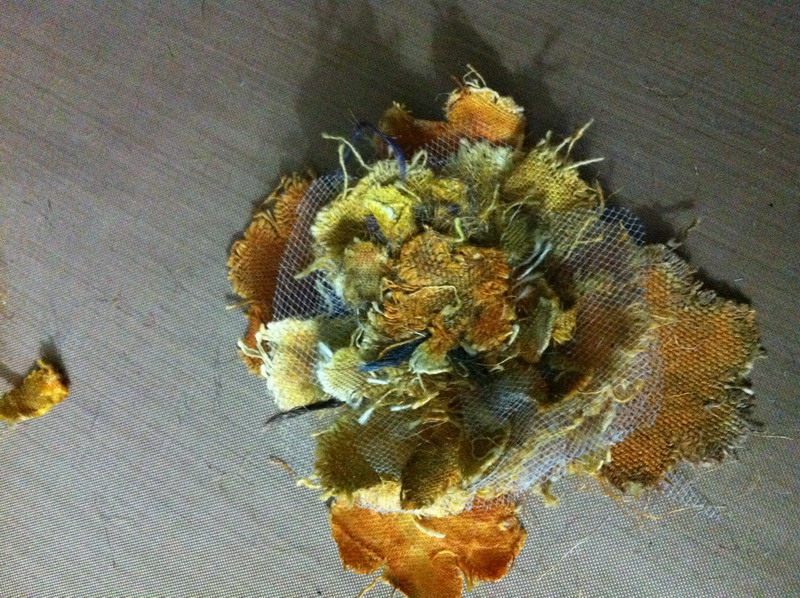
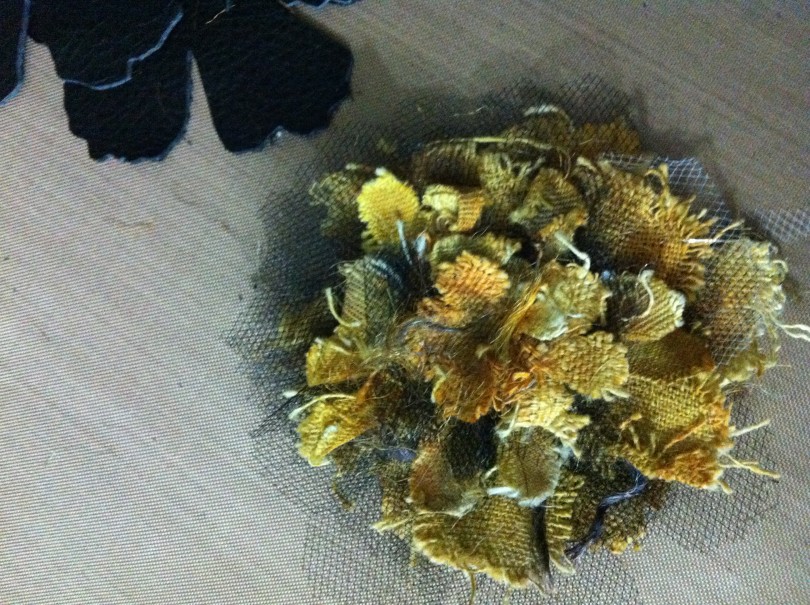
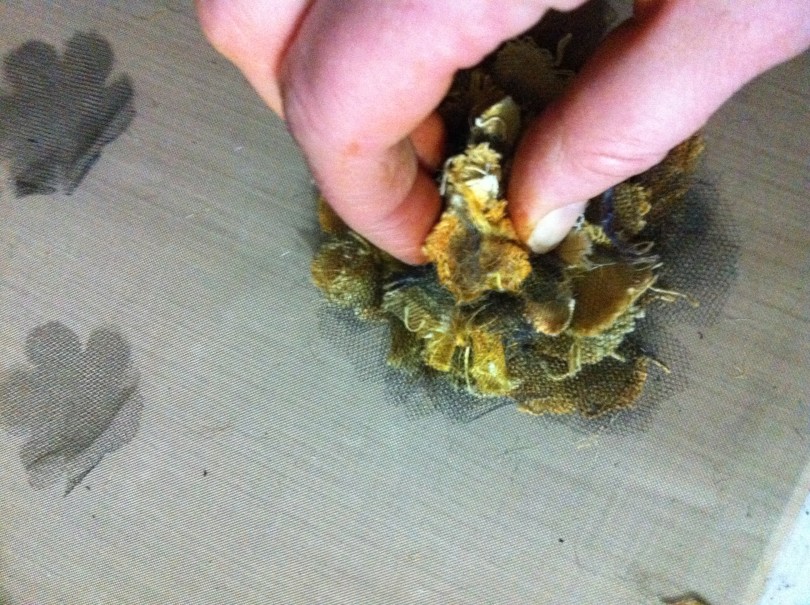
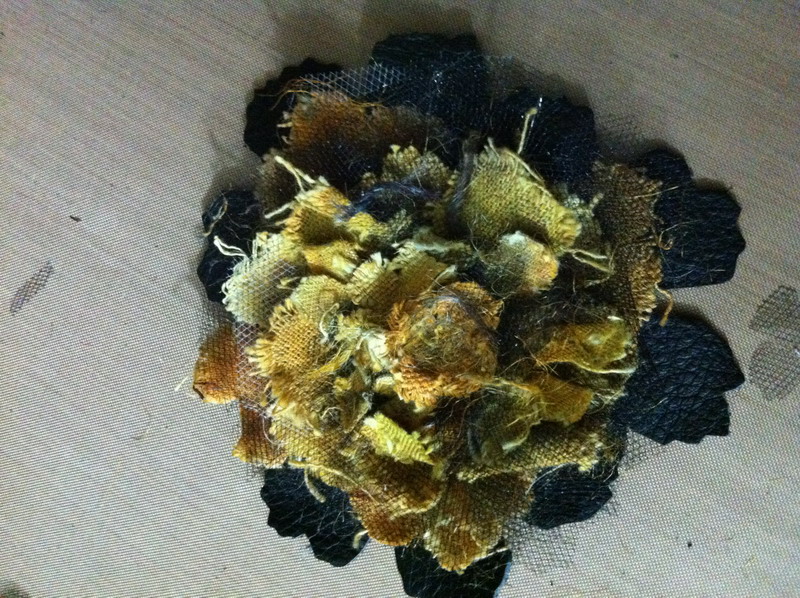
added a bit (okay a lot!) of scrunching…
more hot glue…
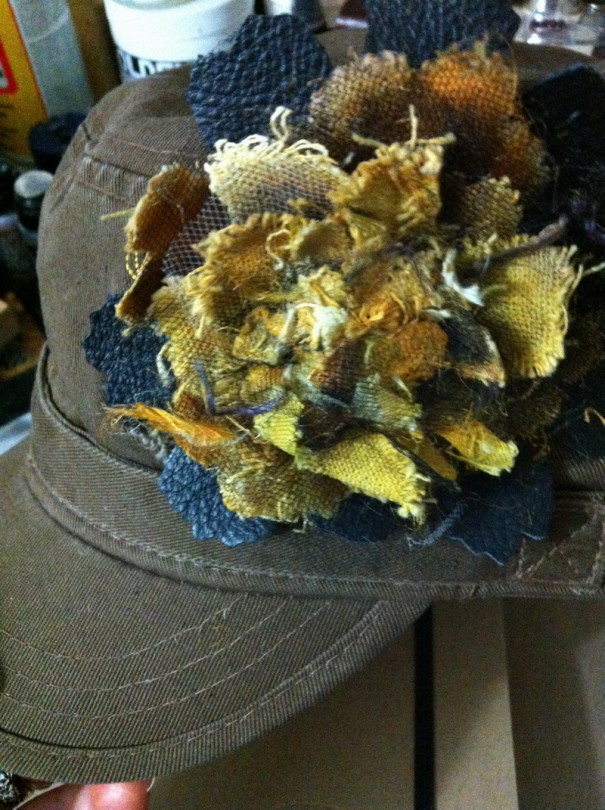
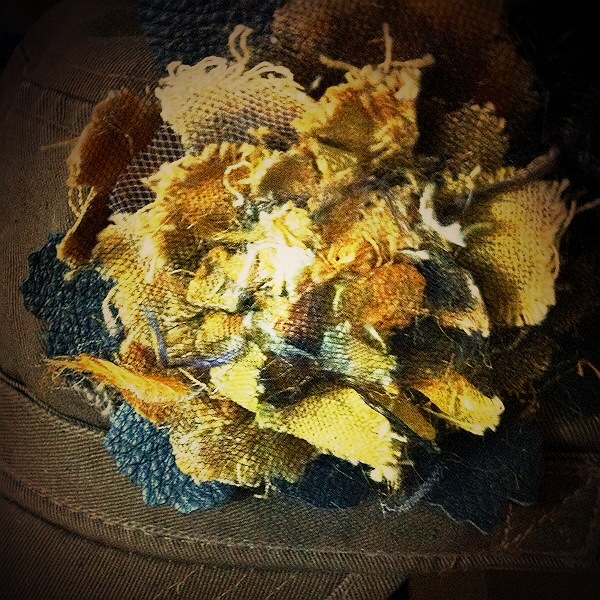
and there was my beautiful tattered rose!
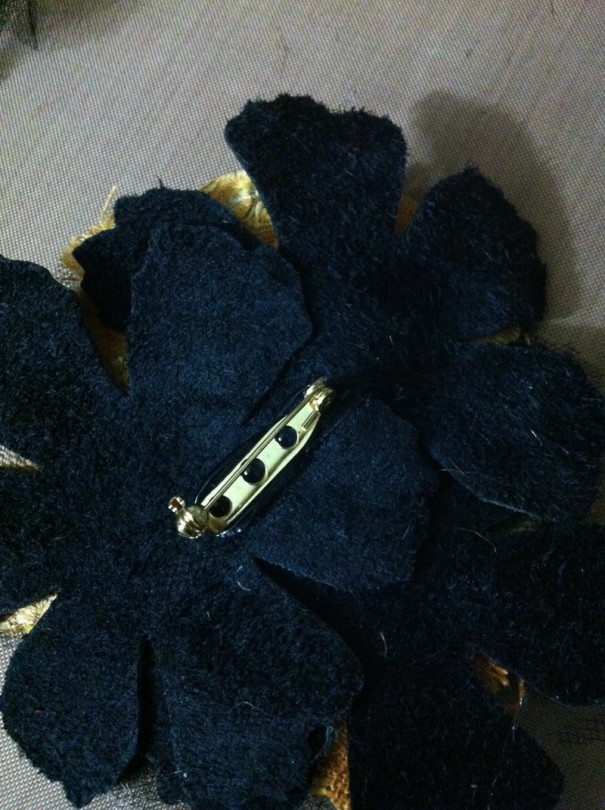
i added a pin on the back for versatility…
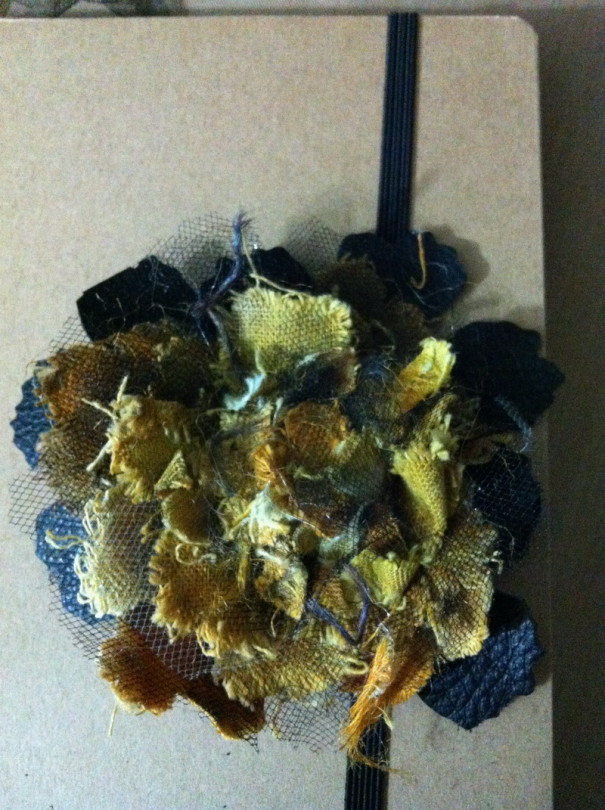
so it could go on a journal….
or on a cap!!
i hope you enjoyed my tutorial!!
diana

Comments
One response to “tattered florals II”
Amazing flower. Thanks for sharing. Just popped over here from the fb calendar page – hi!