WOW it seems like it has been a while since i have been able to sit down and work on something just for the sake of creating without pressure. Now don’t get me wrong i LOVE creating for the inspiration team and the dezign team and for classes but every once in a while i want to play just for the sake of playing and getting messy.
So this is what i did. I took this old binder that was doomed for the dumpster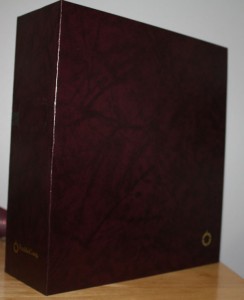
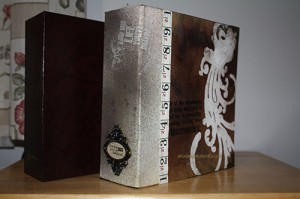
and created this lovely piece of art
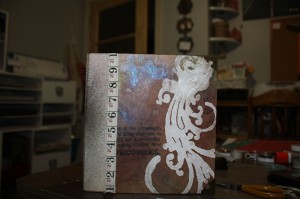
it took only a few steps and a few products and this was the first step.
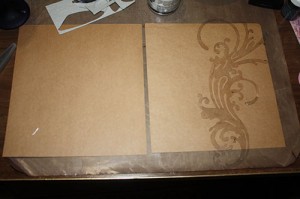
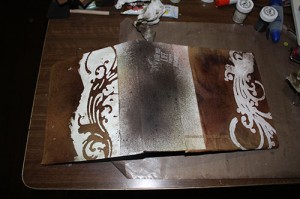
i cut out paper the size of the front and back cover, layed down my stencils and then layered on some gesso. Once i was happy with the amount i picked up my stencil and placed it on the opposite page. I than grabbed my brayer and some paper towel and then TADA.. finished.
i partially dried my GESSO with my heat tool. did you know that by drying it will flatten out your gesso BUT it will also cause it to blister and crack some!! pretty cool i then set it aside to completely dry. Once dry i just layered on different colours of perfect pearls and a bit of color wash. once i was happy with the colouring and the mix i used my damp paper towel and cleaned off the gesso.
i then dug out my Claudine Hellmuth matte gloss and glued my papers onto the binder and pressed it on really well using my brayer. Once both front and back were glued down i used a piece of sticky back canvas and wrapped the end of the binder. A bit more perfect pearls and color wash and it was complete
oh wait no it needed a couple of other things so i took out my coupon die cut and my stamps; placed them on the back of a label with glossy accents and then attached to the binder spine with a couple of brads.
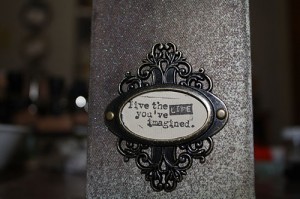
then all that was left to do was to add a bit of ribbon and corners and then my treasured stamps!!!
thanks for stopping bye. Til next time
HAPPY SCRAPPING!!!
